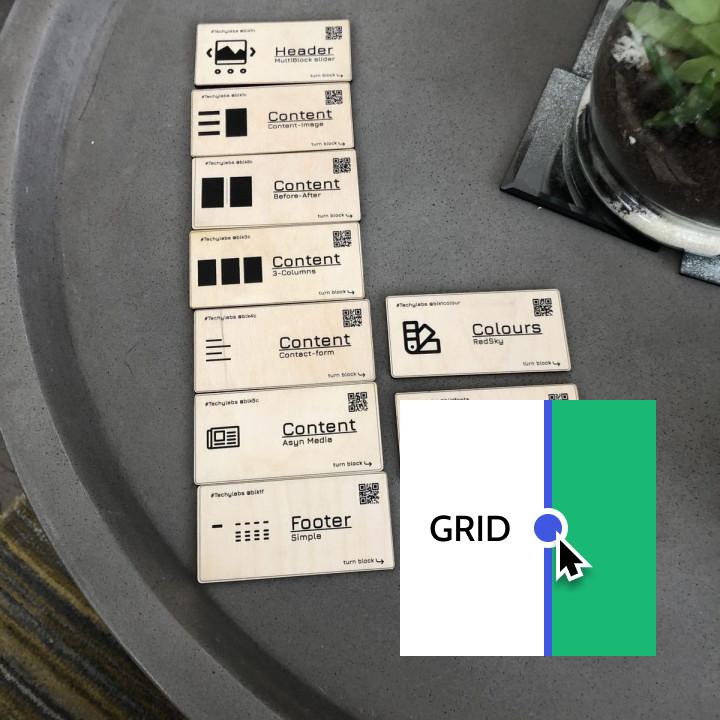
let’s try an example do a delay upgrade to a frame start by selecting or creating a frame within our file on the right towards the middle of the properties panel we see an option to create a layout grid click the plus by default grades that are added to the frame will be at 10 pixel uniform grid but you can adjust the settings in the way of good properties panel and if you’d like you can also adjust the color and the opacity of the grid layout grades are static and pixel fixed this means that when you resize the frame your grade remains intact makes it easy to add multiple grades to your friend you can add columns to rows or both here in the layout grid settings panel choose either rows or columns now that we have her call him this week and specify the number of columns that we would like let’s choose twelve columns the gutter property specifies the space between each column or Row in the margin property to find the space between the frame and the outermost grow or column
this is because the layout grid type of stretchy which means the width of the column will automatically grow or shrink when you resize the frame
if we change the LabCorp type to Center we will be able to change the width value using a center layout grade can be useful in designing for an ultra-wide display where much of the horizontal space be not be utilized the last play of her diapers left this will move our layout grid to the leftmost edge of our frame we can now just the offset of a grid to add space before our Great Beginnings
you can talk a lot on and off the visibility of all of the grades in your file by pressing Ctrl G on your keyboard or by selecting the I icon in the toolbar and then choosing layout grits from the global settings menu
if you are familiar with constraints you’ll be happy to know that they work with stretchy grits if you’re not be sure to check out our constraints video to learn more
let’s review what we’ve learned today layout grids can be grids columns or Rose columns and rows have three types stretch left and center you can have multiple Leo grades on a single frame gutter is the space between rows and columns in the margin is the space between the outermost edges of the layout grid
but before we get into it we make videos regularly if you want to see videos like this please hit the Subscribe button and click the Bell icon for notification
now before we go into the sigma like we always do let’s understand the concept of the grid system in web design well when it comes to web development grid system works as a small container where you can place your element and move around within the individual grid box area
but when it comes to you I design braids actually a set of columns these columns guide you to place your elements in proper alignment with consistency greatest something that gives a certain rule to your design and if I put Monica Geller here rules control the fun or in this case your design
so now if we go to the bootstrap website click. We will find layout
now click read
if we just scroll down a little we will see this table this table has all the information that we need it has all screen sizes bootstrap follows 12 column standard width 1.5 Ram or 24 pixel Gutter and 0.75 Ram or 12 pixel margin on either side of the columns
now let’s go to the figma
as you can see I already made frames in four different sizes the smallest one is 540 pixels wide then this 1720 pixel this one is 992 pixel and finally the largest one is 1200 pixels wide
now making a grid in figma is really very easy just click on a frame you can click here or here now as you can see on the right side it says layer grit just click the Plus
change width of column
we need twelve columns here
needed in the center
as we see in the website better 24 pixel
and for 12:00 pixel screen we need a 76 pixels wide column
this size will ensure 12 pixel of margin on either side by maintaining the 24 pixel.
now move on to the next screen size
I will repeat the same process
now 4992 pixel screen size the column size should be 59 pixel it will approximately maintain the 12 pixel margin with a 24 pixel Gap
for 720 pixel screen size I put column size 36 pixel
finally 4540 pixel wide screen resolution the column size is 21 pixel
so just like this you can easily set a column guide for you I design
so there you go what else you want to know about signal let me know in the comments section and if you like the video please give us a thumbs up and share it with your friends and I will see you in the next video
here’s how they provide a consistent reference point making readability and scalability easier people scan a lot more than they read and that enables people to quickly find information they’re looking for grids also establishes structure which enables designers to quickly organize information making the site looks cleaner and more professional as a result they can also help establish break points when you’re making device-independent designs in short there a great way to create structure without Reinventing the wheel why do you think it’s boring because all sides will look exactly the same even if they’re easy to use I’m a designer I need to design not copy paste okay well what if I told you that you can be creative and use a grid I’m listening you can strategically break the Grid in order to emphasize important content
however it has to be done sparingly so that the site structure stays intact let’s look at this example from wayfair.com Wayfair uses a three-column grid system but they break the Grid at 5 specific moments in order to draw attention towards certain things
for instance the hero image is very large falling outside the great area this ETA is also slightly outside the grid drawing the users I then these two other sections have their own grid of five column structure which breaks the three column grid but in a way that emphasizes the contents of that section yes a grid structure can seem authoritative in rigid at first but it does provide a set of boundaries and rules that allows users to quickly find information and also enables designers to quickly organize information good designers know when to follow the rules and great designers know exactly when and why to break them true creativity after all lies in the ability to see constraints as opportunities good luck happy designing
Awesome! Very nice approach. Keep it up.
Very handy layout Started using this block layout on a WordPress.com site as it was just there by default, then when I realised it wasn’t available on my WordPress sites, I had to go get it. Very handy layout…
Works really well Already working really well. It’s clean and solid and intuitive. I’m working with it with the Kadence theme and it’s excellent. Hope to see this in Gutenberg core soon!
Very Good we definitive need this in core! the default columns in gutenberg are crap.
Very helpful Thank you, nice and helpful!
little advice: Add to tags “Gutenberg” in description. I didn’t find you quickly. In the beginning i was looking for something like this by tag #Gutenberg
Essential plugin One of my (very, very few) essential plugins for WP. It makes building layout a breeze.
I made my own fork and build though, to make some changes:
-I changed the basic gutter values to CSS variables, so now I can use my own values.
-I changed to media queries as well, for my setup.
-I changed the editor visually a bit, to make it look like an editor, see columns etc, but that’s just a personal preference.
And what I couldn’t do, but would be nice to have, to change the order of columns, and the number of rows on mobile/tablet, when it starts collapsing.
But again, it’s essential, and should be part of core WP. Thanks guys!
Xyz Good